The Art of Pencil and Colored Pencil Portraits: A Complete Guide to Drawing the Nose, Mouth, Face, and Hair
 |
| Suzanne Valadon Self-portrait Charcoal and pastel on paper National Museum of Modern Art, Paris |
Portrait drawing has been one of the most fascinating forms of visual art since the earliest days of human creativity. From cave wall markings to Renaissance masterworks, the portrait has always represented more than just a face—it reflects identity, emotion, and the soul of the person portrayed.
Today, portrait drawing with pencils and colored pencils continues to be one of the most accessible yet deeply rewarding art forms for beginners and professionals alike.
Whether you’re starting with graphite pencils or experimenting with colored pencil techniques, the key to creating a realistic and captivating portrait lies in understanding each feature of the face.
Among the most important stages are learning how to draw the nose and mouth, how to capture the face’s proportions, and how to render the ears, chin, and hair with accuracy and style.
This essay explores, in depth, the process of pencil portrait drawing, covering both technical skills and artistic intuition. By the end, you will not only understand how to draw these facial features but also how to elevate your work from simple sketches to realistic, expressive portraits.
The Middle Stage of Portrait Drawing: Transitioning Beyond the Eyes
Most portrait artists begin by focusing on the eyes, often called the “windows to the soul.” Once the eyes are placed and refined, the drawing reaches what can be called the middle stage of portrait drawing. At this stage, the artist moves outward, progressing to the nose and mouth, which together form the central identity of the face.
Drawing the nose and mouth requires patience and careful observation. Unlike the eyes, which are dramatic and immediately expressive, the nose and lips are subtle, consisting largely of curves, soft shading, and delicate tonal shifts. But when done well, they anchor the face and make the portrait instantly recognizable.
 |
Edgar Degas, Giulia Bellelli, a study for "Bellelli Family" |
How to Draw the Nose: Curves, Shadows, and Subtle Lines
The human nose may seem simple at first, but in portrait drawing it is one of the trickiest features. Unlike the eyes or mouth, the nose has no hard edges. Instead, it is made up of soft planes, curves, and shadows, which means the artist must focus more on shading than line work.
Step 1: Understand the Structure
When you observe the nose, you will notice it resembles a series of curves and rounded forms rather than straight lines. At the base, two nostrils form the anchor point, while the bridge of the nose flows upward toward the eyes. To draw accurately, you must think of the nose as a three-dimensional shape, not a flat design.
Step 2: Light Lines for the Nose Outline
Begin by sketching the nose with light, almost invisible lines. Use minimal pressure on your pencil—this ensures that these guidelines can later be blended into shading or erased cleanly. Start with the nostrils as simple ovals, then draw a faint center line that will guide the shape of the bridge. Remember: these marks are just scaffolding for the shading that will define the nose later.
 |
| Anne Brontë Drawing in pencil by Charlotte Brontë, 1845, |
Step 3: Shading for Depth
Since the nose lacks strong outlines, its realism comes from shading. The areas under the nostrils, along the sides of the bridge, and the shadow cast by the nose on the face all contribute to its three-dimensional appearance.
When shading, use soft strokes and build tones gradually, blending as needed with a tissue, blending stump, or simply your fingertip (carefully).
By mastering shading, you turn what looks like a flat curve into a lifelike nose that gives the portrait character and identity.
How to Draw the Mouth: Expression and Identity
The mouth is the most expressive feature of the face. A slight curve of the lips can change the entire mood of a portrait, from serious to joyful, or even mysterious. This makes drawing the mouth both exciting and challenging.
Step 1: Mark the Lip Line
The first step is to mark the delicate line where the upper and lower lips meet. This line should be drawn lightly, as lips are soft and organic, not rigid. Be mindful of the model’s unique lip shape—this line alone often makes the face instantly recognizable.
Step 2: Study the Upper Lip
The upper lip varies greatly from person to person. Some have a sharp cupid’s bow, while others have softer, less defined edges. Capture this individuality carefully. The upper lip is usually darker than the lower lip because it angles inward, catching less light.
Step 3: Draw the Lower Lip
The lower lip is typically fuller and slightly larger. Add gentle curves to reflect its rounded form. Pay close attention to the creases, textures, and light reflections on the lower lip. These details make lips appear more lifelike. Use pencil pressure strategically—apply slightly more pressure to capture creases but keep shading light enough to blend smoothly.
Step 4: Shading the Mouth
Texture and depth are achieved through shading rather than harsh outlines. Avoid drawing the lips as two flat shapes. Instead, emphasize volume by darkening shadows beneath the lower lip and softly highlighting the area above the upper lip.
With practice, you’ll discover that the mouth is not only a feature but also a powerful emotional element that makes your portrait feel alive.
Completing the Portrait: Face, Ears, Chin, and Hair
Once the eyes, nose, and mouth are in place, the rest of the portrait comes together more naturally. The surrounding features—ears, chin, and hair—frame the face and give the portrait completeness.
Drawing the Ears
Ears are often underestimated, but their correct placement is crucial. The top of the ear usually aligns with the eyebrows, while the bottom aligns with the base of the nose. Inside the ear, soft folds and curves can be simplified into light shading rather than detailed linework. Overly defined ears can distract from the main facial features, so keep them subtle.
 |
| Emperor Sigismund's Portrait by Pisanello Albertina, Museum of First District, Vienna, Austria |
Drawing the Chin
The chin defines the jawline and gives structure to the face. A strong chin conveys confidence, while a softer chin suggests gentleness. When drawing, focus on the shadow beneath the chin and its relation to the neck. Avoid heavy lines—let shading do the work.
Drawing the Hair
Hair is often the final feature added, yet it plays a huge role in defining personality. Whether curly, straight, short, or long, the hairstyle should be carefully observed. Instead of drawing every strand, think of hair as clusters of shapes. Begin with broad outlines of the hairstyle, then gradually add strands to suggest texture.
If the portrait includes long hair, decide how it falls around the shoulders. Hair draped over one shoulder can create a striking visual effect, adding depth and balance to the portrait. Shading the hair requires patience—use directional strokes to follow the natural flow of strands.
Finalizing the Portrait: Corrections, Shading, and Intuition
At this stage, the full portrait outline is complete, and you begin to refine details. This is where small corrections, subtle shading, and finishing touches transform a sketch into a realistic artwork.
-
Corrections: Don’t hesitate to adjust proportions or lines if something looks off. A small change in the angle of the lips or the curve of the nose can dramatically improve likeness.
-
Shading: Add depth by layering shadows and highlights. Use varied pencil grades—from H pencils for light outlines to softer 2B–6B pencils for deep shading.
-
Intuition: Trust your artistic intuition. Sometimes realism is less about technical accuracy and more about capturing the feeling of the subject.
Be careful not to overwork the drawing. Over-shading can make the portrait appear stiff. Learn when to stop—this ability grows with experience.
Cleanliness and Practical Tips for Shading
Shading is where portraits come alive, but it’s also where mistakes can ruin hours of work. Graphite and colored pencil powders easily smudge, so cleanliness is vital.
-
Protect Your Drawing: Place a sheet of clean paper under your drawing hand to avoid smudges.
-
Work Top to Bottom: Begin shading at the top of the portrait and work downward, minimizing accidental smearing.
-
Clean Hands and Tools: Keep your hands clean and wipe blending tools regularly to prevent unintended marks.
These practical steps ensure your portrait remains crisp and professional-looking.
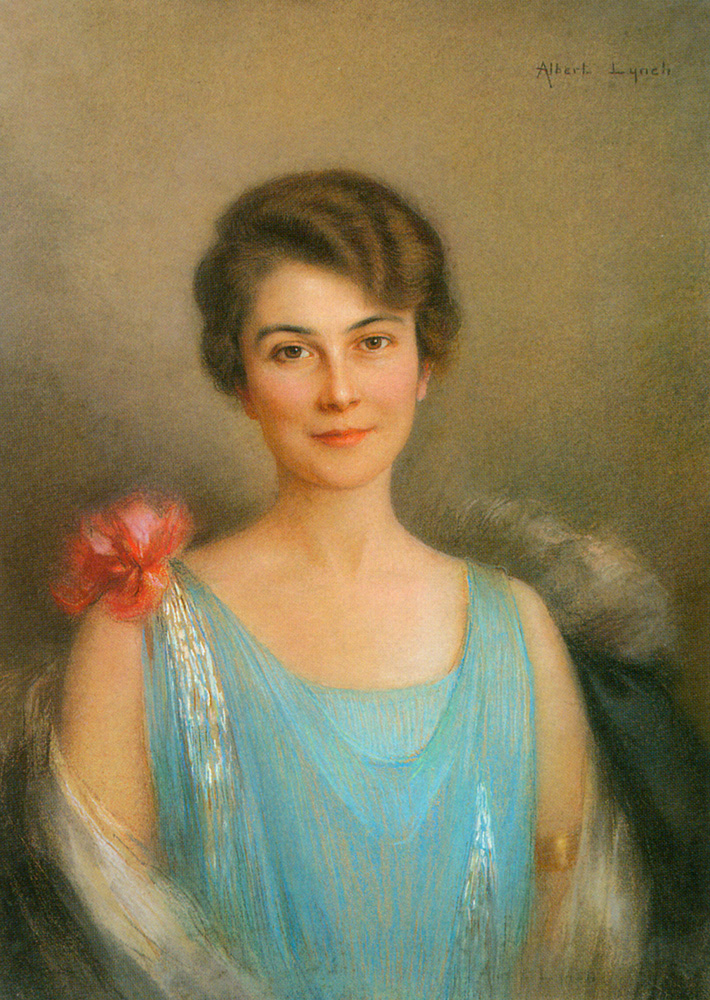 |
Albert Lynch, Public domain, via Wikimedia Commons {{PD-US}} A Portrait of a Lady |
Pencil vs. Colored Pencil Portraits
While graphite pencil portraits are classic, colored pencil portraits add vibrancy and realism. Colored pencils allow you to capture subtle skin tones, eye color, lip shades, and hair highlights that graphite alone cannot express.
-
Graphite Pencil Portraits: Perfect for beginners, focusing on values, light, and shadow.
-
Colored Pencil Portraits: Require layering and blending of multiple colors to achieve lifelike textures. Use light pressure and build up tones gradually.
Both mediums complement each other. Many artists master graphite first, then expand to colored pencils for more advanced portrait work.
Portrait Drawing as a Hobby and Career
One of the greatest appeals of portrait drawing is its accessibility. A few pencils, paper, and erasers are enough to get started. Unlike other art forms, it doesn’t require expensive materials.
As a hobby, it offers relaxation, focus, and creative expression. As a career, it can be deeply rewarding. Portrait commissions—whether of loved ones, celebrities, or pets—remain in high demand. With consistent practice, patience, and passion, pencil portraiture can evolve from a pastime into a professional pursuit.
Tips for Better Portraits
-
Use Mirrors: Place a mirror behind you and your subject (or your reference photograph) so you can compare your drawing with the real face simultaneously. This technique helps identify errors early.
-
Practice Observation: The secret to realism lies in observation. Study faces around you, notice differences in noses, lips, and chins, and sketch regularly.
-
Be Patient: Portrait drawing is not a quick process. Give yourself time for corrections and refinements.
Conclusion: The Journey of Portrait Drawing
Portrait drawing is more than just replicating a face on paper—it is about capturing the essence of a person. From the delicate shading of the nose to the expressive curves of the mouth, from the subtle jawline to the flowing strands of hair, each step builds toward a likeness that feels alive.
Whether you are working in graphite or colored pencil, the process demands patience, observation, and intuition. The beauty of portrait drawing lies not only in the finished artwork but in the journey itself: every line you draw teaches you something new about faces, art, and even human emotion.
So pick up your pencils, sharpen your observation skills, and begin the rewarding journey of portrait drawing. With practice and dedication, you will discover the timeless joy of turning paper and pencil into a portrait that speaks from the heart.